Saturday, July 19, 2014

On Location Lesson 1...Choosing Your Subject

On Location...Lesson 1

Tips for Choosing Your Subject

All the Painters at work in St. Chamarand, France


Painting on location is one of my favorite things to do!  In preparation for my next trip with students to Tuscany Oct 3-10, 2015, I thought I'd begin a series of posts oriented toward helping you get great photos and pick where you should paint when you're out of the studio and on location, or "en plein air" as they say in France.  This first lesson gives some hints on to how to frame your shot. Whether you're a photographer, or a guerrilla painter, hopefully you'll find food for thought here...
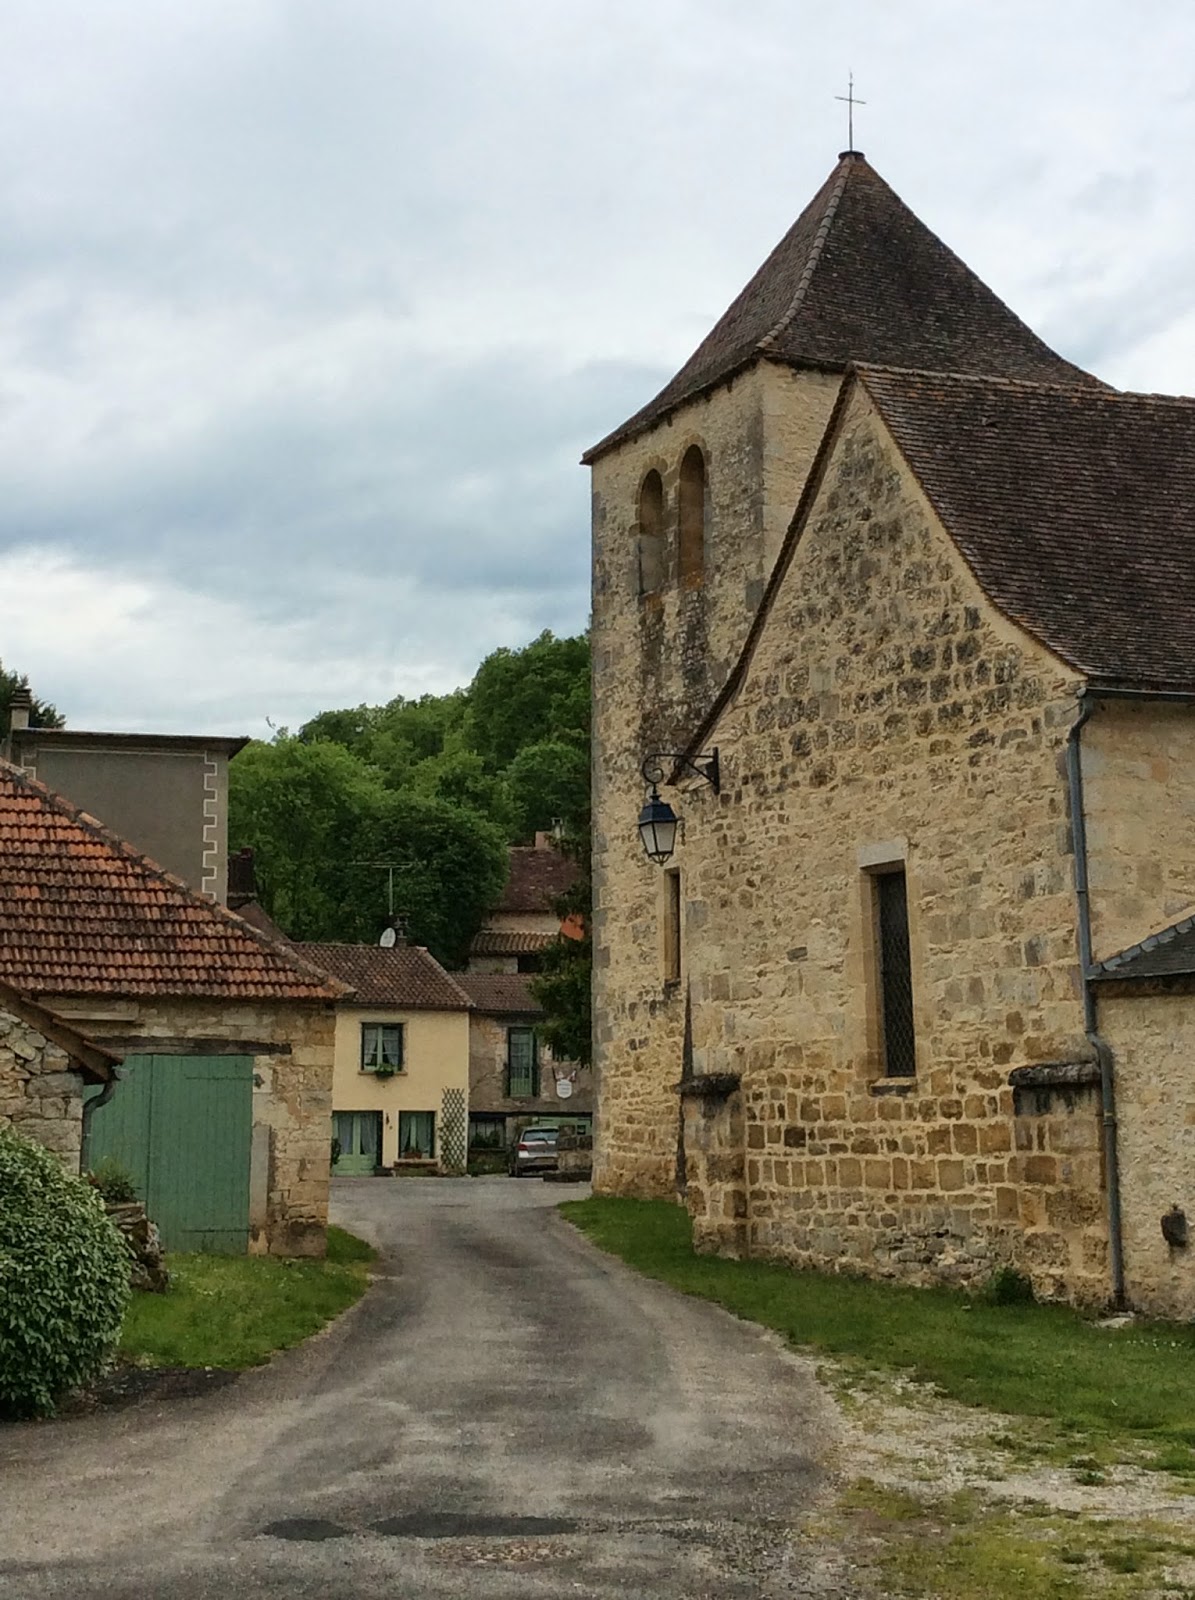
St. Chamarand, France
Vue de la Rue- St. Chamarand, France
11x15 watercolor- Rebecca Zdybel


When on location, deciding on your subject...what to paint and how to paint it can be difficult.   Once you find an interesting subject, the next decision you face is how to frame your subject to best advantage?  These are some good questions to ask yourself:
  • What angle will you use? 
  • Where is the best view? 
  • Will your subject be most interesting viewed from head on, from the side, from below, or from above? (hint: look for interesting shapes and angles)
  • How much time do you have to paint or draw?  (if not much: then pick something simple.)
  • Is there a good pattern of lights and darks?
  • What interesting features do you want to highlight?
  • Is there shade or a place to sit and be comfortable? 
  • Where is the nearest bathroom? This is NOT A JOKE, lol!
  • Do you hear thunder?  Also NOT a joke...Take shelter!  (I learned this the hard way right after the photo b!)
Setting up to paint in St. Cirque la Popie-
Don't ignore gathering Dark clouds even if it's bright and sunny...
Needless to say, I didn't get very far before we had to RUN for shelter!

Hint: Use Your camera as a Viewfinder

If you have a subject which excites you and you're not sure whether or not it will make a good painting...TAKE A PHOTO. It used to be that artists would carry little cardboard viewfinders in their bag, but these days, we all have cameras.  Cameras have essentially made it unnecessary to bring an extra viewfinder.

When possible, make an effort to view your subject from multiple perspectives through your camera.  Assess your photos, and then let the best photo help you decide how to compose your painting.  Digital cameras, phones, and iPads or tablets make this easy.  
(I have found that tablet screens e.g. iPads are very difficult to see in the bright sunlight.  They are also cumbersome as camera's...often taking a long time to focus and shoot).  


Scene from Gigouzac, France (Landscape orientation)


Same scene- Gigouzac, France portrait orientation with sunshine
Once you find the right vantage point and get ready to begin your sketch, here's another TO DO LIST:

  • I will frequently take a photo with my iPad if I have it.  Sometimes I use it onsite as a quick reference to begin my drawing.  
  • ALWAYS TAKE A PHOTO ONCE YOU ARE SEATED AND BEGIN YOUR DRAWING.  This will record your unique seated perspective for future reference if you need to alter your sketch or complete it once you get back in the studio.  Remember: If you take a photo while standing, your horizon will be at standing eye level.  If you sit down, the seated position lowers the horizon line and changes all perspective lines. 
  • TAKE ANOTHER PHOTO IF THE LIGHT IMPROVES OR CHANGES.  (Shadows change, and some light patterns are more interesting than others.)

In my next installment I'll give you some tips on solving some of the perspective problems which can arise on location.  Subscribe to this blog so you'll get them delivered to you as soon as they're posted. 

Thanks to those who have been leaving me comments.  I really enjoy hearing from you!


Rebecca Zdybel
Artist, Instructor, Art-Travel Instructor
Art Lessons in all media
Myrtle Beach, SC
rebecca@artmyrtlebeach.com

Spread Light, Share Love, DO Art!

Feel free to share any of this blog post on your own blog or website, but I ask that you you include:
Rebecca Zdybel is an artist and instructor in Myrtle Beach, SC.  Follow her and see her work at http://www.artmyrtlebeach.com/


"Like" my facebook page: Rebecca Zdybel- Artist
Join me on Google+ Rebecca Zdybel Google+ Profile


Tuesday, July 8, 2014

Angelic Warrior Joins Me to Fight Arthritis!

Children have a wonderful way of being open to ideas and welcoming of new experiences without expectations.  Think about it...we all began that way! Yesterday, I was reminded of how fabulous it can be to experience painting with the heart of a child.  Join us for this fun watercolor art lesson.  It's great for young kids or the "young at heart".  


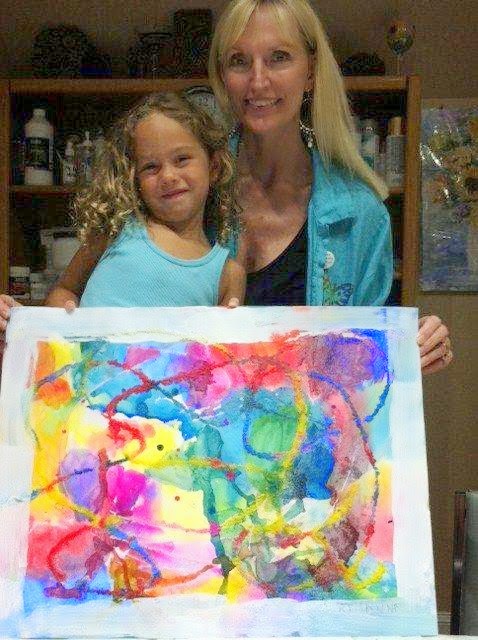
It was my privilege to participate in the SC Arthritis Foundation's Fundraising Project for 2014. I was asked to work with a child from Myrtle Beach who has been diagnosed with arthritis.  My role was to help her develop a piece of art which could be sold for fundraising purposes.  With that in mind, I met this little Art Angel...

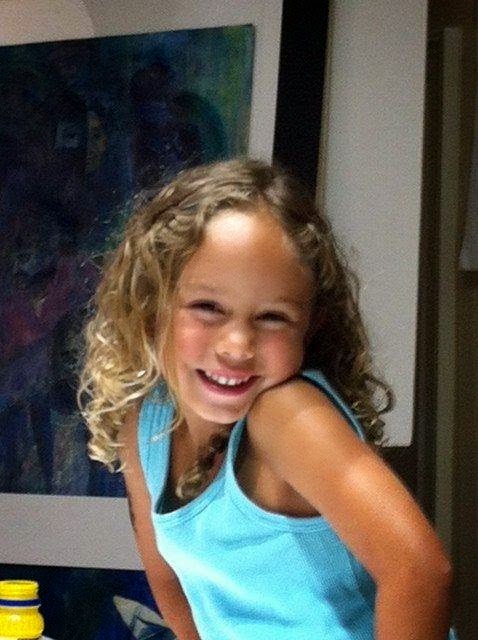
Arianna Sanchez is READY!!!

This little Art angel is a warrior!  

She is in a battle with arthritis.  

But she is not about to let that stop her!


She came to my studio along with her sweet mom and brother, and we set off to CREATE something!
Perhaps you'll enjoy her journey as an artist and want to share it with a child in your life.  In fact, maybe your Inner Child will be so inspired that you may want to give it a try...I hope so!  We all had fun with it, and you may too...
Rebecca Shows Arianna some of the materials they will use
I showed her some of the materials and gave her lots of verbal instruction. Given her age, I approached it as a color exercise.  Our First Step: Crayon lines as "wax-resist"... we made random lines and got loosened up with some mark making on the page. 
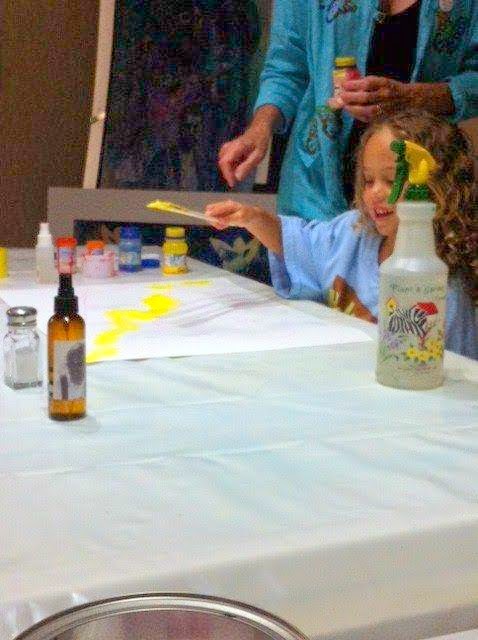
Adding a bit of yellow watercolor
Then I had her use large hake brushes and with a pure lemon yellow color, she created a winding path of yellow on a wet piece of watercolor paper.  You can't see the crayon lines, but they added some "resist" to the watercolor, creating white or relatively light lines. 

Setting a pure Manganese blue in beside the yellow and then helping it find a path to the edge was the next step. Try not to mix the colors, just set them next to one another. As I often say: 

"Water paints better than I ever could."

Next comes blue and then comes pink!
Along the way, I had her note what colors resulted when blue merged with yellow (green).  Then we added some pretty Opera Pink, but the stipulation was...add it next to any color except "Green".   When she added the pink, we noted what color resulted when it merged with Blue (purple)  and when it merged with yellow (orange). She and her brother had big fun naming the colors and figuring out where she could put them.

We continued to add strong mixes of watercolor, all the while placing colors next to one another rather than mixing them together.  Instead, we sprayed with water to encourage their mixing.  We continued our guessing game about what color would result from our additions.  We added Winsor Red, and avoided placing it next to "Greens".  We added American Journey's Arctic Ice, but avoided placing it next to "Orange". Then one at a time, with instructions of what colors to avoid, we added more pink, blue and yellow.  (Avoiding the complementary colors helps to keep the colors bright.)  As she did her additions, a variety of beautiful colors emerged on the paper.

How about some RED! 
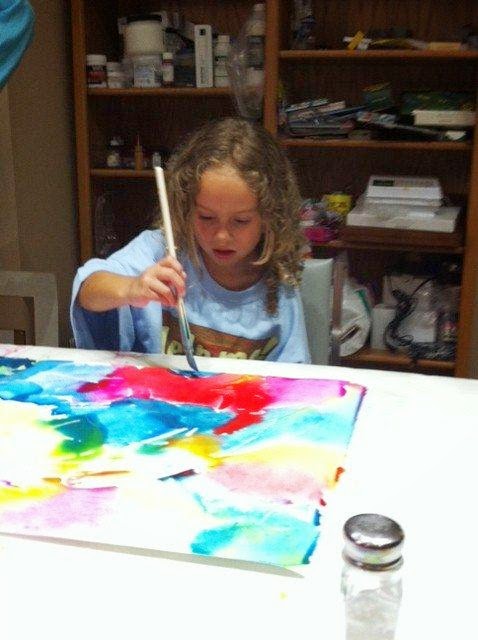
Once the page was full of color, we added some salt for texture in places where the paper was not as "shiny".  At least for a while, we were able to restrain the application of salt to the dry areas...then it was so much fun pouring salt, that things got a bit salty!  But that's ok, we have to let go and have some fun along the way, right?!

Then it was time to paint with the blow dryer.  Some of the deep wells of color could be moved in lines with the force of the blow dryer.  Things also need to dry before we could move on...soooooo
Painting with the blow dryer!


After blow-drying our paper, and blow-drying her brother, and lest we forget, of course we had to blow-dry mom... 
After everything was dry, we ended up with a beautiful bright page full of color and texture.


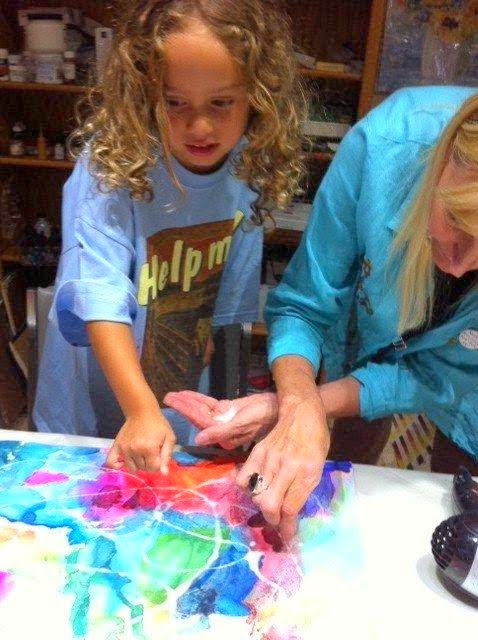
Next came the lines....To add the lines, we made big sweeping gestures with Elmers Glue.  Once the lines travelled around the paper, we added more salt...(oh yesssssss!) but we did so by pinching a bit between our fingers and dropping it directly into the wet glue lines.  Here we are doing this step.  (Since Arianna's arms were a bit short for our big painting, I gave her a had with the glue)  We all helped put salt into the wet glue.

Once the glue lines were salted, we set about adding the same colors next to one another along the lines.  This requires a gentle touch.  Simply touching the glue lines with a loaded soft brush full of paint works best.  There were so many lines that Big Brother, Christian needed to lend a hand!


Beautiful colored lines begin to form all over the page...so much fun!


Then it was time to get out the blow-dryer again...watch out mom!

After drying completely,  it was time to do a little coloring with American Journey Watercolor Sticks.  They are a fun water media product that goes on like a crayon, and dissolves like watercolor.  Arianna used those to intensify some of her colors and create a few strategic dark shapes.  I limited her choices to ones which would keep her out of color trouble, and encouraged her to search out a shapes that had been formed by the lines we had created. I had her color till she was tired of coloring in each shape, and then spread the color the rest of the way  with a wet brush.  She liked being able to quit on a shape when she felt like it, and just letting the water do the rest...

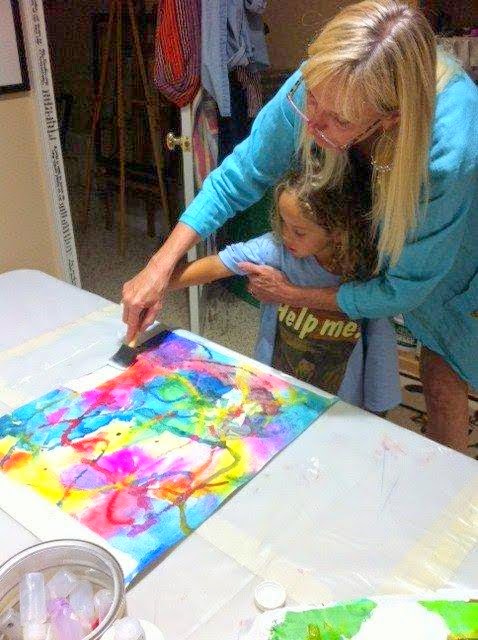
Once she had a page full of beautiful colors and lines, I thought giving her composition a calm border might be nice.  So together, we added a white acrylic border along the edge.  
 Finally, the painting needed her signature.  She looked at the piece from all directions and decided which way it should hang.  I suggested a place for her to sign it and she used 2 pieces of paper as a guide for placement, and for how large to write her signature.  I had her use graphite, to make it easy to write her name.  She did it perfectly! 
"Keep On the Sunny Side" Painting by Arianna Sanchez
Mixed media of Watercolor and Acrylic on Paper.  18"X24"
Painting will be available for sale 
Don't you just love her painting?  Comment here and I will share those comments with Our Art Angel and her sweet family.  If you're inspired to help her and other kids like her, join us in the fight against Arthritis, and attend the Masquerade Event in Charleston, SC follow this link:  
https://arthritismar.ejoinme.org/MyEvents/2014DvineAffair/tabid/517287/Default.aspx

August 3  Gallery Show to celebrate each piece created this year at Lowcountry Artists Gallery 1-3pm Charleston, SC

September 6 D'Vine Affair Masquerade Gala Benefitting the Arthritis Foundation. at Memminger Auditorium  Theme: Masquerade--Faces of Arthritis7 pm
Charleston, SC


Rebecca Zdybel
Artist, Instructor, Art-Travel Instructor
Art Lessons in all media
Myrtle Beach, SC
rebecca@artmyrtlebeach.com

Spread Light, Share Love, DO Art!

Feel free to share any of this blog post on your own blog or website, but I ask that you you include:
Rebecca Zdybel is an artist and instructor in Myrtle Beach, SC.  Follow her and see her work at http://www.artmyrtlebeach.com/


"Like" my facebook page: Rebecca Zdybel- Artist
Join me on Google+ Rebecca Zdybel Google+ Profile
 
Copyright 2012 Rebecca Zdybel.  All Rights Reserved.
Designed and Maintained by Myrtle Beach Website Designer